
By Audrey Kang
Origami, the art of paper folding, derives its name from Japanese, literally meaning “fold-paper”. It has strong cultural associations with Japan, although some say that it has Chinese roots. However, now, the word has evolved to mean any kind of paper-folding art.
Interestingly, the idea of origami that most of us have now is actually German-influenced (source: https://en.wikipedia.org/wiki/Origami) – turning a single flat bicoloured square paper into a finished sculpture without the cuts, glue, or any other external fastening. The traditional Japanese origami used to have a variety of starting shapes, cuts were allowed, and they would add colouring when the sculpture was done.
Now, as much as I found regular origami cool and fascinating, the practical part of me always found the finished products slightly useless. They made pretty gifts or decorative bits for cards or as part of festive decor, but even as gifts, I thought they were a bit wanting since they were relatively flimsy.
Then I stumbled upon the world of 3D origami – known also as Golden Venture origami for the migrants who popularised it. It is a type of modular origami, which as the name suggests, consists of folding repeated units or modules, and putting them together to form sculptures. I had been researching a way to reuse the stacks of journal articles I had printed and read for work, and this allowed me to upcycle them!
When I started out, most sculptures I found online required at least 500 units, or coloured paper, or were simply decorative. But I found this: https://www.instructables.com/Modular-Origami-Swan/ which is a swan sculpture (so white paper) with a “bowl” area to hold some candies or any other little bits and bobs, and only requires about 220 units! Enthused, I set out to make one.
One thing about this craft is that it is very repetitive. Most of the effort and time goes into folding the units. I ended up taking two years to finish my first sculpture after that enthusiastic start – because I got so bored I put it away and only revived my interest in it two years later! I gave the sculpture away as a Thank You gift. The one pictured is my second one and I only took two weeks – maybe 5-6 hours in all. It was given away as well 🙂
I find this a good craft when you want to do something with your hands while your mind is occupied. It is especially good paired with podcasts – so I would work on my Italian while my hands worked on this. It goes a little slower if you’re watching something, but still possible. Or you could also grab a friend, or more, to work on one together while you catch up with them. That said, it could also be a great activity to teach children team work and patience, although you may want to look up even simpler sculptures depending on the child’s age. You could adjust the size of each unit by simply cutting each A4 into fewer parts. Each child could fold some and then they combine their pieces to form a sculpture.
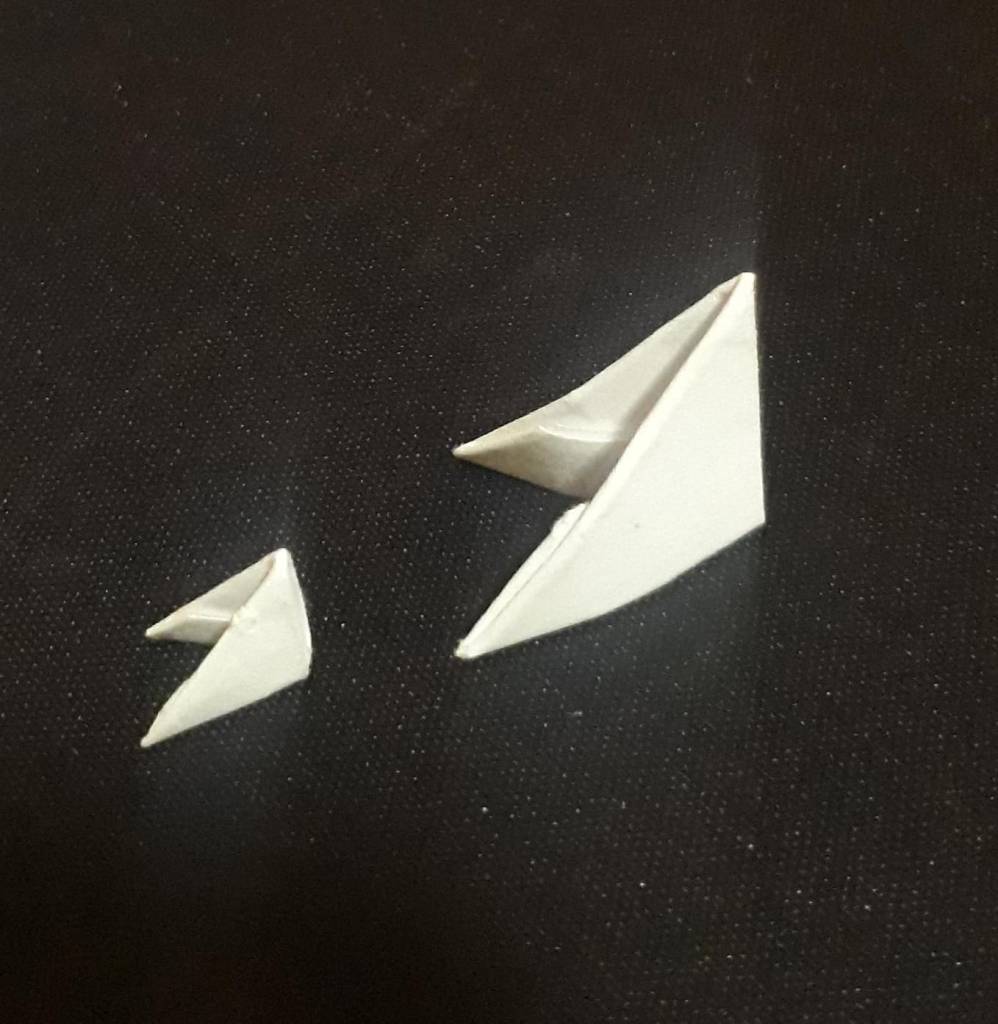
Right now, I am challenging myself by scaling the units to 1/4 the size recommended in the instructions. It’ll probably turn out to be one of those purely decorative sculptures, since there won’t be much space to hold anything!
Posted by Chayo, HomSkil Editor 1, 29 October 2021
